My "Flying Field"
I flew my models not at a regular model flying field, but just at a beautiful place. The meadows are cultivated (mowed) but will not be converted to acres. My models don't bother anybody, neither man nor beast, and I'm not bothered by a few cars on the narrow street or a few ramblers and dog walkers, either (except when their dogs try to catch my model).
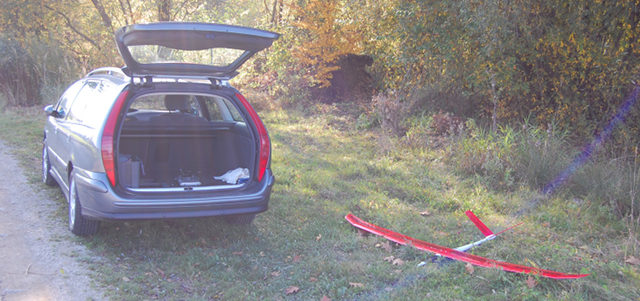
The car was parked next to the street and the model was assembled in the grass. The Thermik-Star is a good example how small a model looks outdoors; it has even 101 in wingspan.
Assembling
The car's cargo bay has enough room for the model and all things needed for flying. The field box contains rubber bands, adhesive tape, bolts, screwdriver, scissors, charging leads, and more things. The ROYALpro9 is my active transmitter, but the Cockpit MM is there as a backup. In front of it lies the XP400 radio set with earphone used as receiver for the Picolario talk variometer. Behind it is my coat just in case the weather gets nippy, and on the shelf are straw hat and cap used as sunscreen in thermal weather (hat if it's calm and cap if it's windy, of course).

On the right side of the cargo bay is a socket for the usual 12V car plugs, which is very convenient to use for the battery charger. There are plugs with good clamping force on the pins, enduring 3 A current draw without problems, for a limited time even 5 A. Resistance seems to be acceptable since the charger works like on the power supply at home.
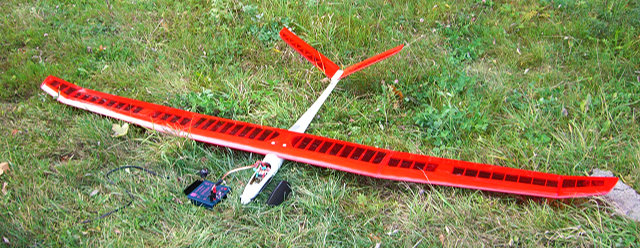
The battery charger is next to the model because the wire lead between charger and battery should be as short as possible. Originally, the charger was a Graupner mc-ultra duo PLUS II, but manufactured by Schulze. That's why it was possible to convert it to a Schulze isl 6-330 d, which - despite being nearly 10 years old - is still up-to-date due to hardware and firmware updates. By the way, usually the batteries have to cool down after charging.
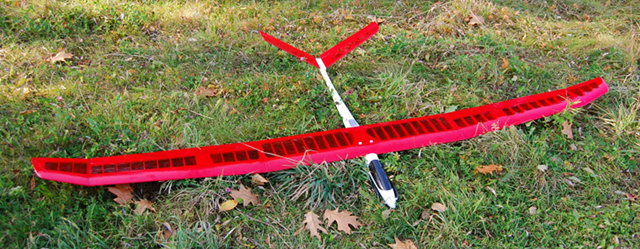
The charged battery is connected to the ESC, and the cap is snapped into place on the fuselage. Finally, the controls are again checked for proper function. Assembling the model had started with sticking the three wing parts together (center piece and two outer pieces with ailerons). Either connection is secured with two strips of adhesive (polyester) tape. The aileron servo leads have been run forward through the fuselage and plugged into the piezo gyro. After that, the receiver battery had been plugged and the wing had been bolted to the fuselage with two nylon bolts.
Flying
Here we go. Transmitter on the neckstrap and in my left hand, model in my right hand, that's how I cross the street. The meadow is slightly sloping there and the model may well plunge down a bit after hand launch.
I advance the left transmitter stick to full power with my left thumb (Mode 2) and throw the model slightly upwards with my right arm. More often than not, the propeller pulls the model into a climb, but otherwise there's enough time to grab the transmitter and pull a bit up elevator. While the model climbs, I walk further into the meadow, a fair bit away from the street.
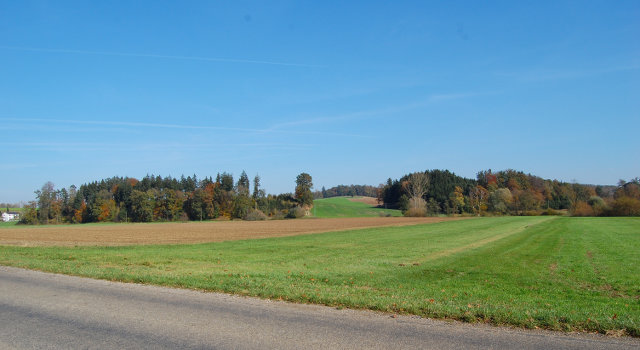
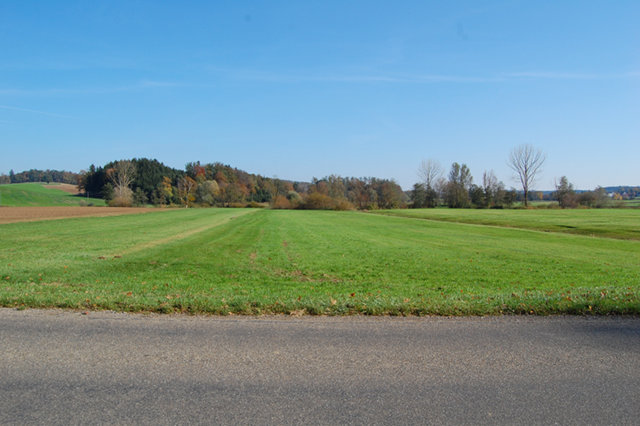
It's something special when the wind comes from the house on the left edge of the picture, that's about northeast. In the afternoon the sun shines straight on the slope in the picture's center. Obviously the air can heat up there without being disturbed by the wind until a big thermal bubble gets off the ground and hauls the model, for instance Brummi, up to the limit of visibility in no time.
Aerial Pictures
A few aerial pictures have been shot with the Brummi parkflyer. The very simple Fujifilm Digital Q1 3M camera had been strapped under the fuselage with rubber bands, and a micro servo had been strapped to the camera for the shutter release. You see, I kept things very simple or even primitive. The camera shot vertically onto the terrain.
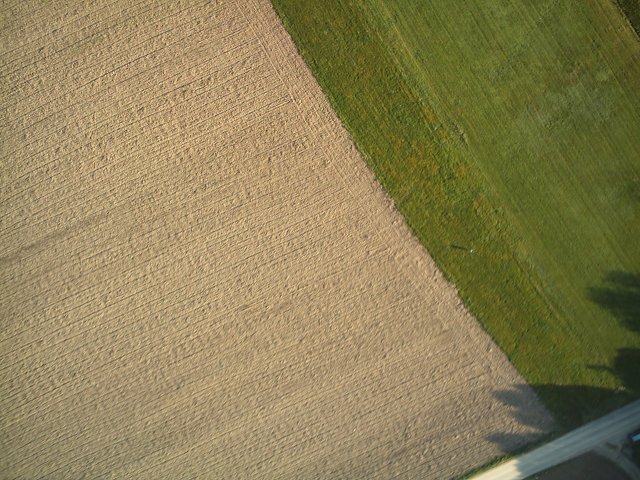
Down right is the street and my parked car. Center right that's me, just a bright speck on the green meadow. The long shadows show that it's quite late both in the year and in the afternoon (7th Oct. 2007 4:30pm). The camera has fixed f/3.5 aperture and ISO-100 and shot at 1/125 shutter speed. The aperture is not a problem but the shutter speed could not have been slower. Only from decent altitude like here the pictures get still sharp and not blurry, even though the parkflyer flies not really fast.
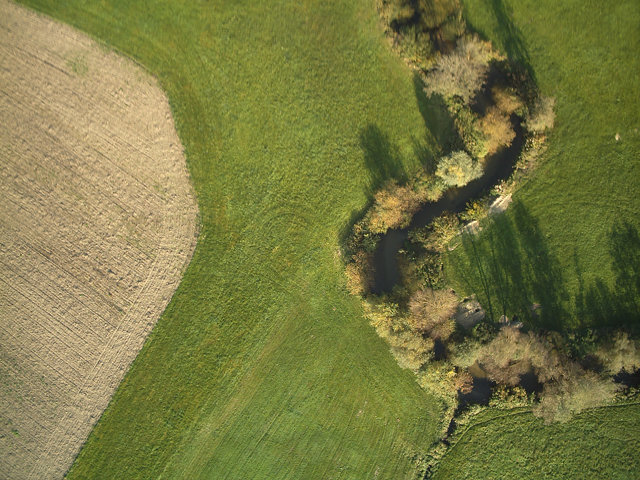
More to the east, along the border between the meadow and the grainfield, is a small river. It meanders intensely, and its banks are lined with many bushes and willow trees. The two bright spots at the bank are sandy places where once rose big willow trees, more than 70 ft tall.
Into one of them I crashed my Pedro (in 2002) because I misjudged its altitude. Since that time I always watch "visual line separation". Beavers harried the willows so much that they had to be cut in the end. But that was only after my mishap...
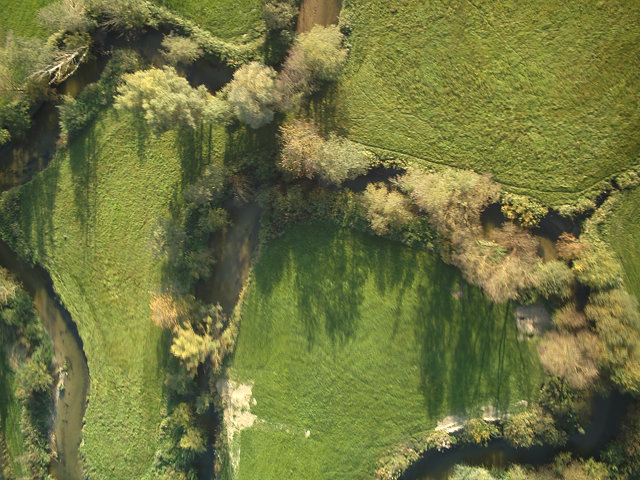
Here you see the exceptional windings (sinuosities) of the small river. It runs from the picture's upper center to the left, then downwards, comes nearly full circle, turns right, turns downwards again, and finally turns to the lower left just to leave the picture. In the upper right corner, you see a small brook flowing into the river. (In the overview picture above, it's a ditch at the right side of the meadow.) In the lower right corner of the picture are again the two bright spots where once have been the willow trees.
Satellite/Aerial Picture
From an even higher point of view, the river windings don't look quite that spectacular. This picture is from a well-known source in the Internet and is oriented. A red dot marks the usual pilot's position.
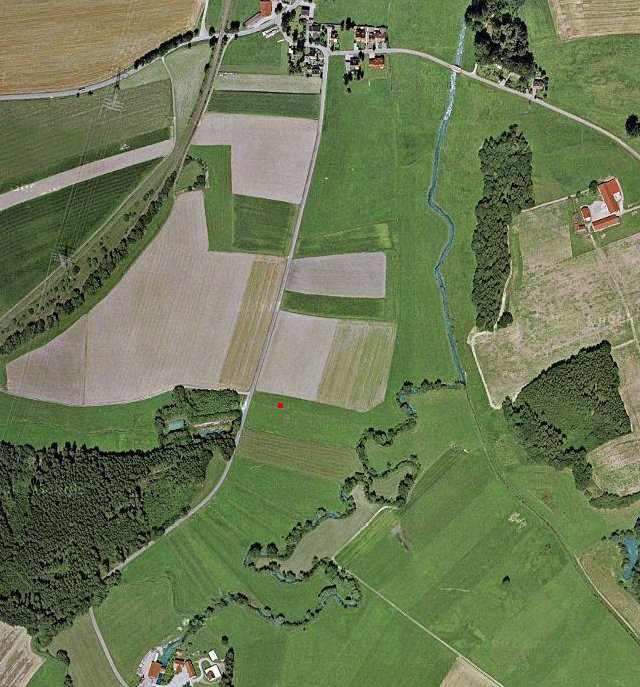
Anyhow, the river meanders just where I fly my models. You may recognize which detail of this larger aerial picture is shown by my aerial picture. The houses at the picture's top margin are nearly all residential houses, at the upper right margin is a farm, at the left lower margin a homestead with a sawmill. To the left of it a bit lower in the aerial picture, but hardly noticeable, is a small chapel, which is to the right of the sawmill in the following panorama picture and well noticeable there (to find with the compass). By the way, on the meadows to the lower right of the river is still visible where the riverbed once was.
Panorama
In nice autumn weather on 12th September 2005, I shot several photos of the place for a panorama picture. A single-lens-reflex (SLR) film camera with a 20mm super wide-angle lens has been turned around on a tripod for 10 shots in upright format. The camera was not precisely pivoted in its nodal point, but nevertheless stitching the pictures together went virtually flawless. The Velvia 100 film makes quite vivid colors, even in the scanned digital pictures.

The panorama viewer (4.8 MB) shows the place from the pilot's perspective, who stands in the meadow somewhat away from the street. Quasi in his back is the parked car, and in the opposite direction - seen exactly along the mowing streaks - is the river with the bushes and trees and the place where once were the "dangerous" willows. The mowed grainfield on the left side is a good source of thermals, especially the edges and the street where thermal bubbles come off the ground. The grainfield across the street isn't bad, either.